/
Apple AirPrint
Apple AirPrint
- Chris McCoy
Owned by Chris McCoy
Last updated: Oct 12, 2021
| Users |
|
|---|---|
| Compatible devices |
|
| Notes |
|
This article describes how to use Apple's AirPrint, which allows users on macOS, iPadOS or iOS devices to print to a BRHS printer.
![]() Steps apply to any devices, including BYOD devices, connected to a BRHS WiFi network. Read more.
Steps apply to any devices, including BYOD devices, connected to a BRHS WiFi network. Read more.
![]() Only certain users have been approved for color printing. If you are not approved, your print job will automatically be converted to grayscale.
Only certain users have been approved for color printing. If you are not approved, your print job will automatically be converted to grayscale.
Submit a print job from macOS
- With a document or webpage open on your Mac, choose File > Print in the app you’re using.
- Click the Printer menu, then choose the Smart Print printer.
- Note: If you don't see this printer, confirm you are successfully connected to a BRHS WiFi network.
- Select the other print options you want and click Print.
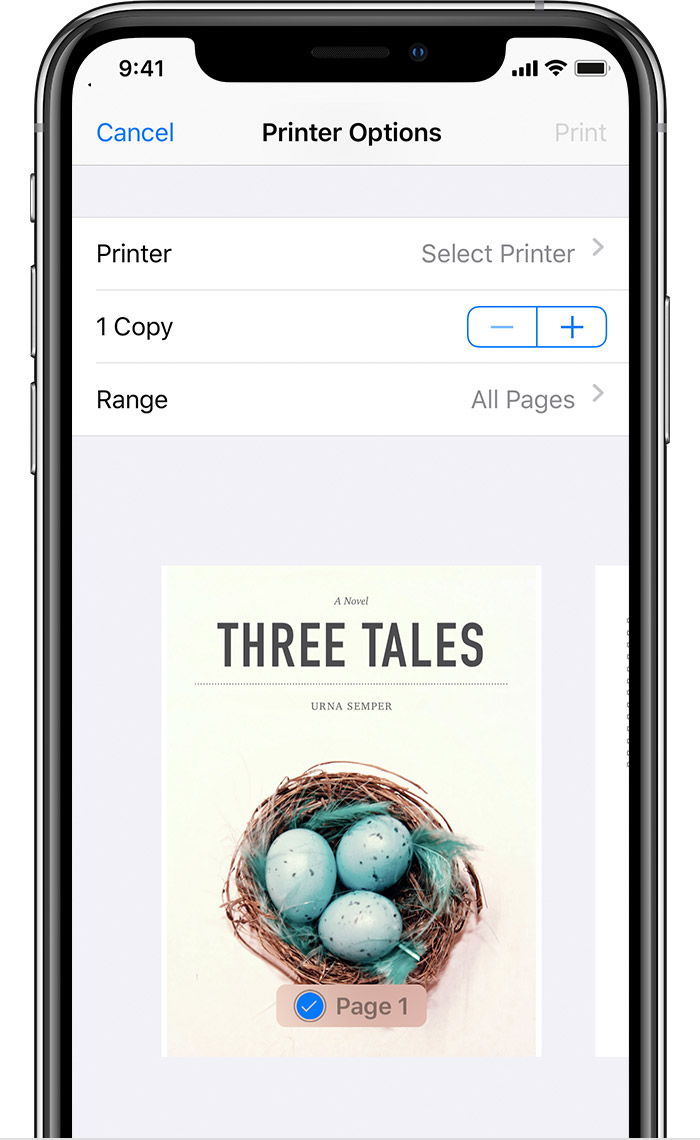
Submit a print job from iPadOS or iOS
- Open the app that you want to print from.
- To find the print option, tap the app’s share icon —
 or
or  — or tap
  . (Icons as of iOS version 15.)
 - Scroll down and tap
 or Print. If you can’t find the print option, check the app’s User Guide or Help section. Not all apps support AirPrint.
 - Tap Select Printer and choose Smart Print.
- Note: If you don't see this printer, confirm you are successfully connected to a BRHS WiFi network.
- Choose the number of copies, duplex/2-sided, color or black/white, and which pages you want to print.
- Tap Print in the upper-right corner.
Release your print job
Visit one of the approved release stations to release your print job.
, multiple selections available,
Related content
BFW / Macmillan Achieve
BFW / Macmillan Achieve
More like this
Microsoft MFA
Microsoft MFA
More like this
Google 2-Step Verification
Google 2-Step Verification
More like this
Create Schoology Parent Account
Create Schoology Parent Account
More like this
Multi-factor Authentication (MFA)
Multi-factor Authentication (MFA)
More like this