Page Contents
Before syncing any grades please make sure all the requirements below have been met:
Category requirements
Set up categories in PowerSchool prior to syncing grades
In PowerTeacher Pro:
A set of default Categories (i.e., Homework, Project, Quiz, Test, Lab) have been created for categorizing assignments.
- To view and edit the Categories, select Grading and then Categories.

- Select the Edit (pencil) icon to edit the category settings, including class selections. By default, all classes have the default categories assigned.
A new or custom Category can be created if needed for categorizing assignments.
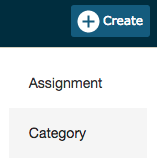
- To create a new Category, select Create on the charms bar and then choose Category.
- Select the classes for this category using the Select Classes dropdown.
- Choose/enter category information.
- Enter category name.
- Check Active to make the category active.
- Select the Assignment Defaults tab and select the Score Type from the dropdown. The fields change based on to your Score Type selection.
- To include new assignments in this category in final grade calculations by default, verify that Count in Final Grade is selected.
- To view the categories that are already created, click the View All tab. School-created categories are labeled with an icon that looks like a building. Also, use the View All tab to view the classes that are using each category and the statuses of each category.
- Select Save when finished.
Map Schoology to PowerSchool categories
In Schoology, do the following for EACH course section:
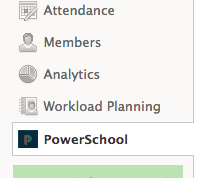
- Open a course and select the PowerSchool app from the left menu.
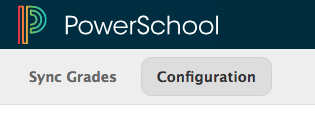
- Select the Configuration tab.
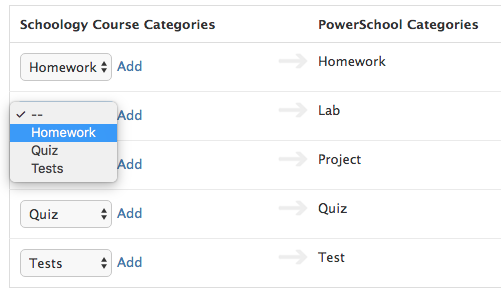
- Map categories by selecting which Schoology categories (on the left) correspond to which PowerSchool categories (on the right). Note: it is okay for more than one Schoology category can map to the same PowerSchool category.
- Select Save when finished.
Repeat this process for each course section.
Linked Sections
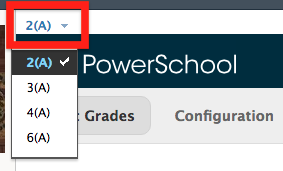
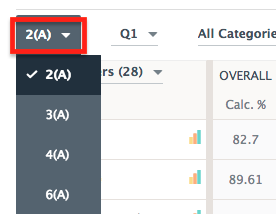
Categories must be mapped for each section. To switch between sections that are linked, locate the Section drop-down menu in the PowerSchool app.
Assignment requirements
Each assignment must be assigned a Category in Schoology
In Schoology, to add a category to an existing assignment:
- Locate the assignment in your materials, from the calendar, or in the Gradebook.
- Click Edit.
- Find the Category drop-down menu and select a category.

- Select Save Changes when finished.
Each assignment must have a due date
If you do not set a due date, the last day of the term will be used. Example: for Q1 of 2016-17 the date of 10/23 will be used in place of a missing due date.
In Schoology, to add a due date to an existing assignment:
- Locate the assignment in your materials, from the calendar, or in the Gradebook.
- Click Edit.
- Find the Due Date box and fill in the date.
- For linked sections, the Due Date box is labeled "Availability and Due Dates".
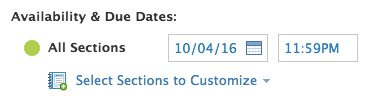
- For linked sections, the Due Date box is labeled "Availability and Due Dates".
- Select Save Changes when finished.
Syncing Grades
Grade syncing is done one class at a time (even for linked sections).
Sync from the PowerSchool app (recommended)
This is the recommended way to begin syncing for the first time. Once you are comfortable with the process you can sync using the Gradebook method (see below).
In Schoology:
- Open a course and select the PowerSchool app from the left menu.
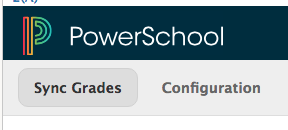
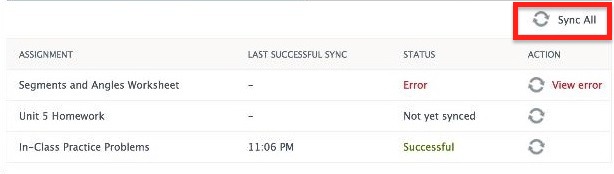
- Select the Sync Grades tab to see a list of your graded items available to sync. Assignments that have not been graded will not appear.
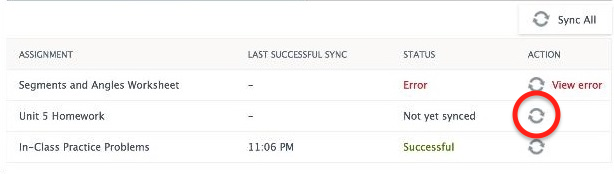
- Click the Sync button next to one assignment to sync that assignment. The Status will change to Queued. You can click the Sync Grades tab at the top to reload this page and the status should now indicate Successful. If the status indicates Error, see the troubleshooting section below.
- Load PowerTeacher Pro and confirm that they newly synced assignment appears with the correct name, due date, category, and scores.
- Once comfortable you can use the Sync All button to sync all assignments.
- Repeat this process for each class.
Linked Sections
To switch between sections that are linked, locate the Section drop-down menu in the PowerSchool app. Even though the assignments are most likely the same in each section, you still need to sync them separately.
Sync from the Gradebook
This sync will sync ALL grades in your Gradebook. If you are looking to only sync a single assignment, use the PowerSchool app method (see above).
In Schoology:
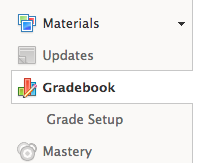
- Open a course and select the Gradebook app from the left menu.
- Click the Sync icon in the upper-right corner of your Schoology Gradebook to sync all graded items at once. This queues all assignments to sync; you may navigate away from the Gradebook page while the sync progresses.
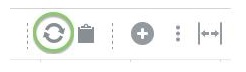
- The next time you load the Gradebook, a red dot displays next to the clipboard icon if any errors have occurred during the sync. See the troubleshooting section below.

- Repeat this process for each class.
Linked Sections
To switch between sections that are linked, locate the Section drop-down menu in the Gradebook. Even though the assignments are most likely the same in each section, you still need to sync them separately.
Troubleshooting
No Category
No Due Date
Assignment name too long