You are viewing an old version of this page. View the current version.
Compare with Current
View Page History
« Previous
Version 14
Next »

Page Contents
Before syncing any grades please make sure all the requirements below have been met:
Category requirements
Set up categories in PowerSchool prior to syncing grades
Directions...
In PowerTeacher Pro:
A set of default Categories (i.e., Homework, Project, Quiz, Test, Lab) have been created for categorizing assignments.
- To view and edit the Categories, select Grading and then Categories.
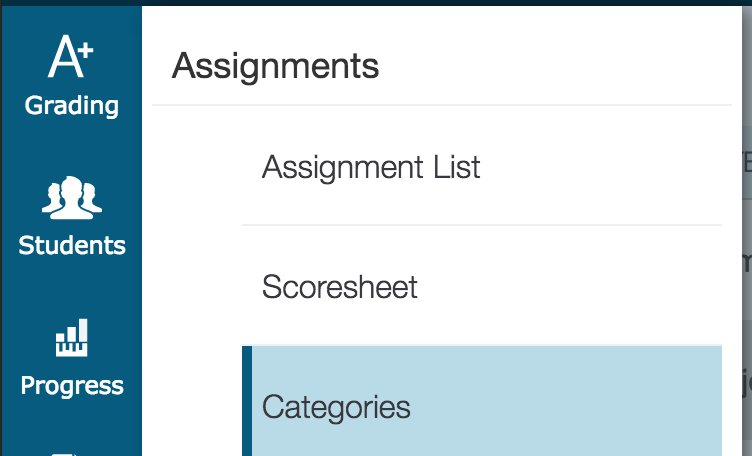
- Select the Edit (pencil) icon to edit the category settings, including class selections. By default, all classes have the default categories assigned.
A new or custom Category can be created if needed for categorizing assignments.
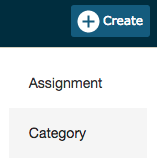
- To create a new Category, select Create on the charms bar and then choose Category.
- Select the classes for this category using the Select Classes dropdown.
- Choose/enter category information.
- Enter category name.
- Check Active to make the category active.
- Select the Assignment Defaults tab and select the Score Type from the dropdown. The fields change based on to your Score Type selection.
- To include new assignments in this category in final grade calculations by default, verify that Count in Final Grade is selected.
- To view the categories that are already created, click the View All tab. School-created categories are labeled with an icon that looks like a building. Also, use the View All tab to view the classes that are using each category and the statuses of each category.
- Select Save when finished.
Map Schoology to PowerSchool categories
Directions...
In Schoology, do the following for EACH course section:
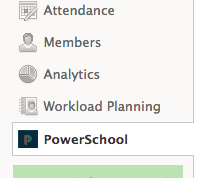
- Open a course and select the PowerSchool app from the left menu.
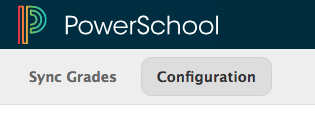
- Select the Configuration tab.
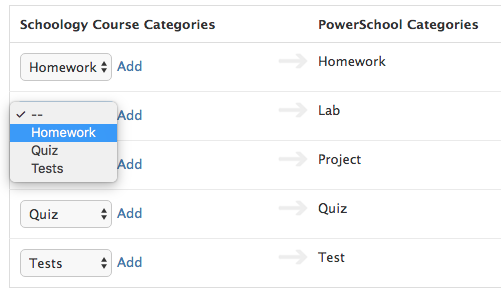
- Map categories by selecting which Schoology categories (on the left) correspond to which PowerSchool categories (on the right). Note: it is okay for more than one Schoology category can map to the same PowerSchool category.
- Select Save when finished.
Repeat this process for each course section.
Assignment requirements
Each assignment must be assigned a Category in Schoology
Directions...
In Schoology, to add a category to an existing assignment:
- Locate the assignment in your materials, from the calendar, or in the Gradebook.
- Click Edit.
- Find the Category drop-down menu and select a category.

- Select Save Changes when finished.
Each assignment must have a due date
Directions...
In Schoology, to add a due date to an existing assignment:
- Locate the assignment in your materials, from the calendar, or in the Gradebook.
- Click Edit.
- Find the Due Date box and fill in the date.

- For linked sections, the Due Date box is labeled "Availability and Due Dates".

- Select Save Changes when finished.
Syncing Grades
Assignments are automatically synced to PowerSchool once the there is a category and due date.
Scores are automatically synced after you save them.
You can manually sync or re-syn assignment scores by following the process below:
Troubleshooting
No Category
No Due Date
Assignment name too long
Change of points possible


